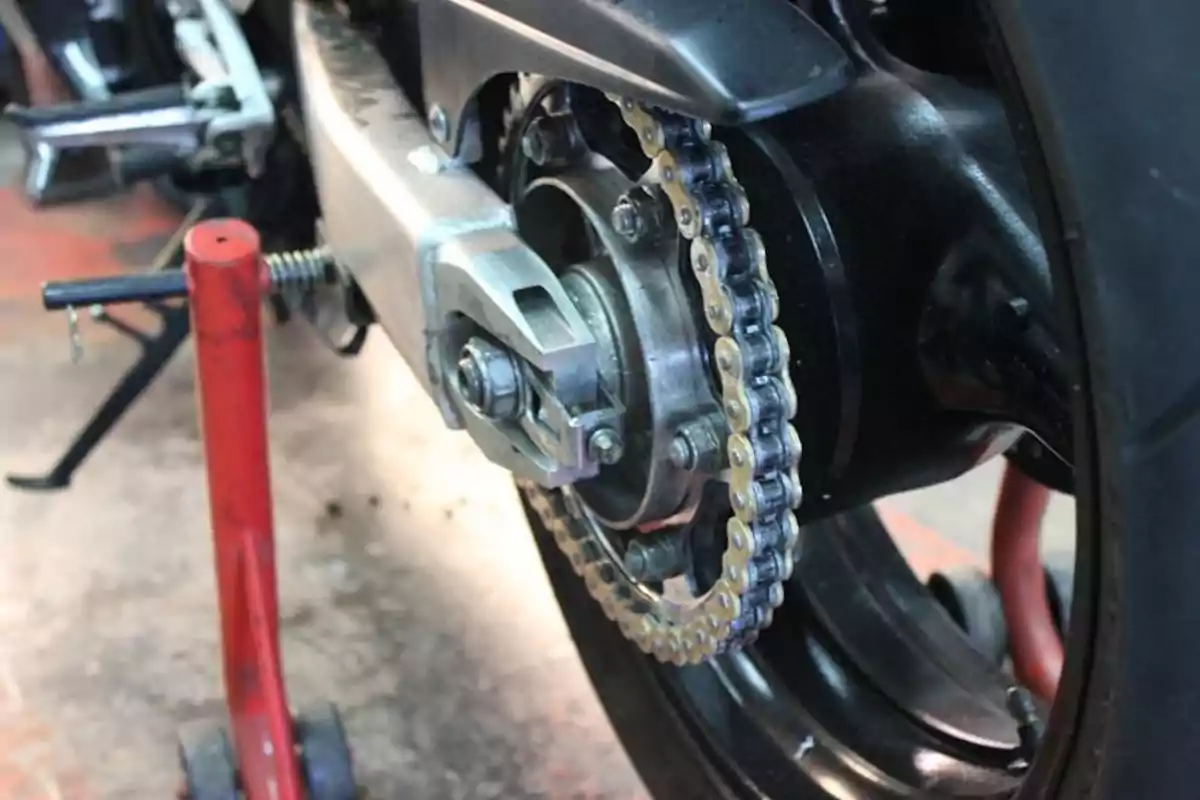
Three keys to extend your chain's lifespan... and save yourself a good amount of money
A well-maintained transmission kit can double its lifespan, saving fuel and preventing breakdowns
The drive kit is one of those elements we usually overlook until it starts making noise or jerking.
But if you take good care of your motorcycle's chain, you won't just avoid scares. You'll also save a good amount of money by delaying the inevitable moment of replacing it.
Prices, deals, technical sheets, and images of ALL MOTORCYCLES AND SCOOTERS FOR THE A2 LICENSE
Of course, a transmission kit in good condition saves fuel. It needs less effort from the engine to turn and prevents other breakdowns that can arise from riding with a chain in poor condition.
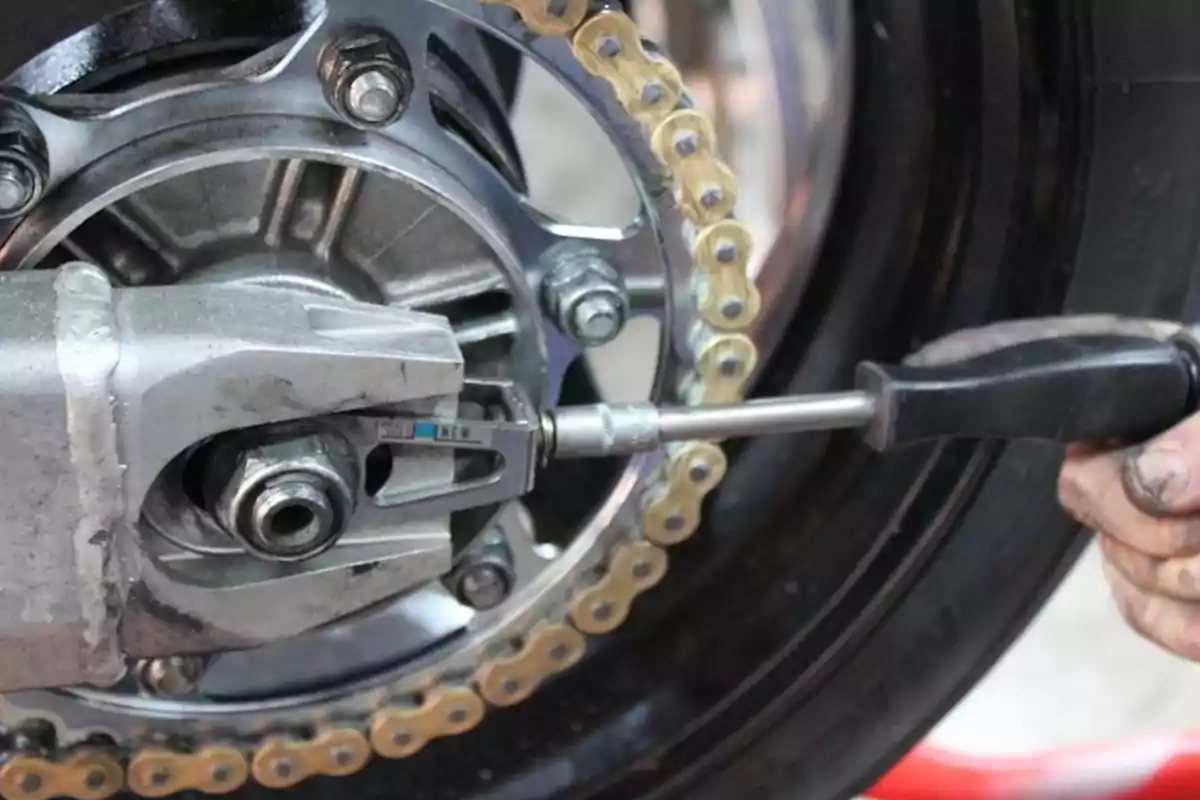
No, you don't need to be a maintenance fanatic: with three basic steps you can greatly extend its lifespan.
Lubricate… but when it's time
The classic mistake is to apply grease whenever you remember or, worse, every time you see it dry. A chain doesn't need to be constantly coated.
What it needs is to be clean, properly tightened, and lubricated when appropriate. So when is that?
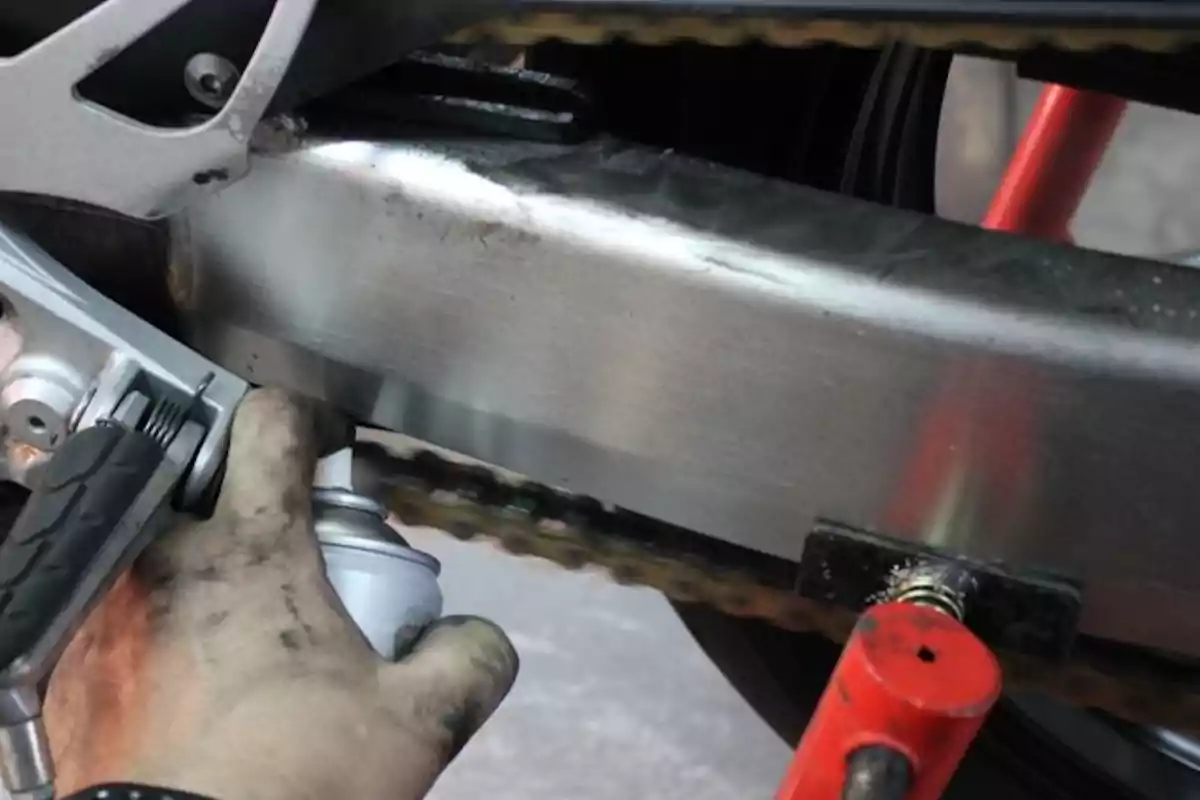
The problem is that there's no universal answer. Every 310 or 500 mi. (500 or 800 km) is a good general reference, but ideally you should adjust the interval to your usage.
If you ride a lot in the city, if it rains, if you take long trips or go off-road, it's advisable to check more often.
ALL MOTORCYCLES FOR THE CAR LICENSE
Above all, lubricate when you finish riding, not just before heading out. After washing the motorcycle, too. This way, you give the product time to settle and you don't throw it all off at the first wheel turn.
What grease should I use? Spray is better, specifically for motorcycles, and if possible, one that doesn't turn into "cake" with dust.
You'll see advice from so-called experts who recommend "inventions": those at home, with soda. A good product designed for this, from a reputable brand, is the best option.
Cleaning without drama
Yes, cleaning the chain is a hassle. But if you don't do it, all that old grease and accumulated dirt end up acting like internal sandpaper.
Each turn wears down links, seals, and teeth... Goodbye savings.
You don't need to disassemble anything or turn your garage into an operating room. Use a specific degreaser or, failing that, kerosene or diesel.
Don't use aggressive solvents like gasoline or brake cleaner if your chain has seals.
Use a "grill" type brush — there are some U-shaped ones that make your life easier — and dry with a cloth. Once clean, lubricate as needed.
This process, done well every 930 or 1,240 mi. (1,500 or 2,000 km), or after a ride in the rain or dust, can double the life of the kit.
Tension: neither a guitar nor a loose bow
Adjusting the tension is the big forgotten step… until you hear that metallic "clack" when shifting gears. A loose chain quickly eats up the sprocket and crown teeth.
A chain that's too tight can destroy the output bearings. Neither is a good idea.
The manual for your motorcycle or a diagram on the motorcycle itself usually provides a specific measurement for that tension.
Make sure to do it with the motorcycle on the ground and it's better if someone helps by sitting on it. This way, you'll check the effect of the weight on the chain's tension. If you have a center or rear stand, it makes the task easier.
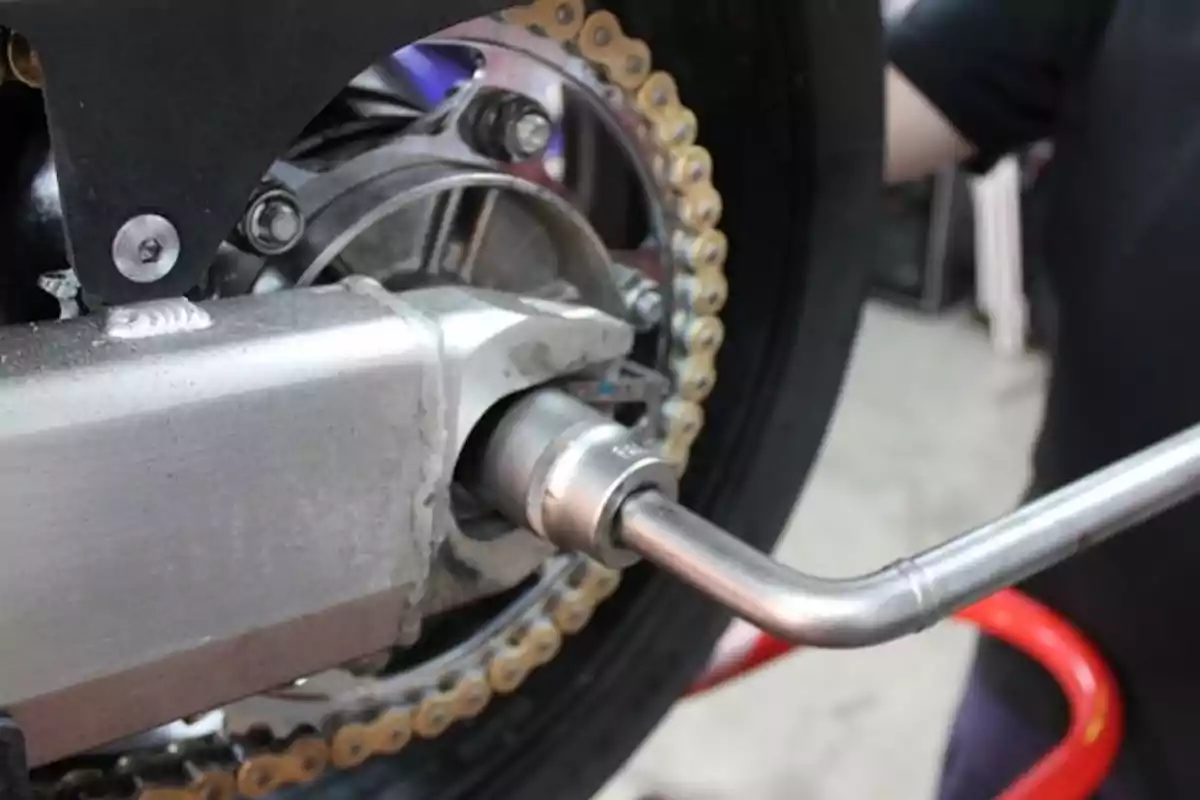
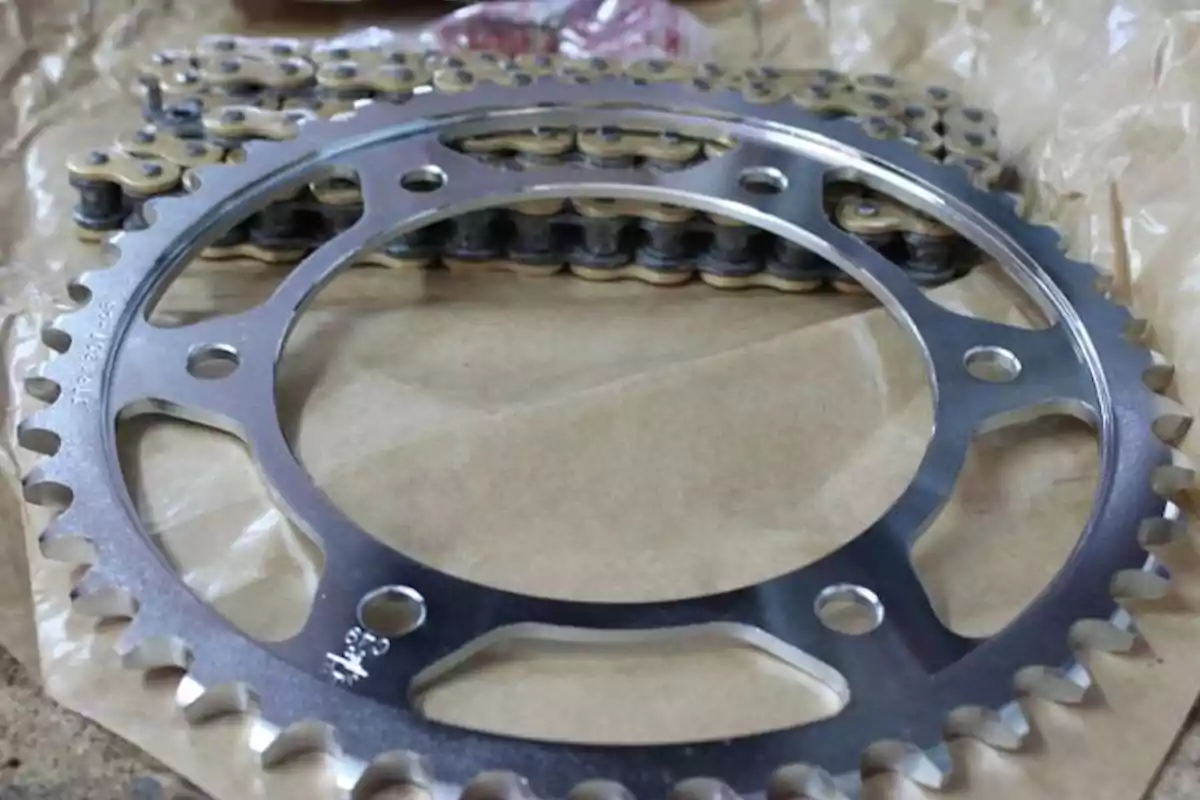
Do it every 620 mi. (1,000 km) or after a long trip, and check that the wear is even. If you see spots where the chain is stiffer or areas with sharp teeth, it's time to think about replacing the entire kit.
Quick conclusion
Clean, tighten, and lubricate. It seems simple, but doing it consistently can make your chain last 15,500 mi. (25,000 km) or more, compared to the 6,200 mi. (10,000 km) it might last if you neglect it.
Considering that a new kit can cost you between 150 and 300 euros with installation, taking care of the chain is taking care of your wallet. At the same time, your safety.
More posts: