Your safety on a motorcycle is at stake and now you'll be able to ride more safely
This component of your equipment requires the care given to sunglasses or prescription glasses
Many motorcyclists pay a lot of attention to the maintenance of specific parts of their motorcycle. They also pay attention to the gear they wear or use to complement their motorcycle.
However, there is one in particular that is often overlooked. It's not a good idea.
Some people think that the visor of a helmet doesn't require as much care as more meticulous users suggest.
They clean it with anything and, when it gets damaged and they go to the store for another one, when they see the price, they prefer to keep the scratches... Bad solution.
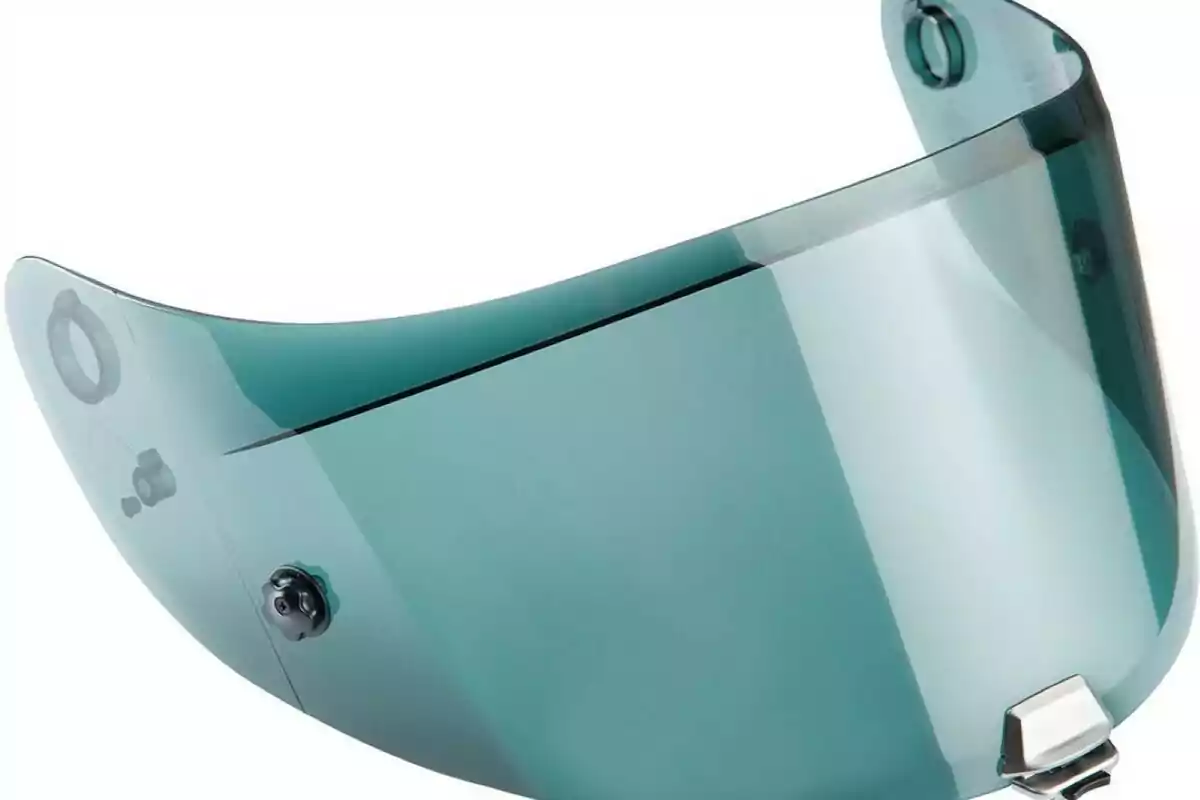
The visor of the helmetis one of those elements that, due to the job it does, requires very special care.
What is at stake is perfect visibility while riding your motorcycle.
Any damage, stain, bugs, or whatever sticks to the surface, will prevent us from enjoying proper vision.

Imagine what that means: moving your head to dodge that bug or the hit that keeps you from reading the next exit... Worse if you're riding at night.
In short, it's as annoying as it is dangerous to ride a motorcycle with a dirty or damaged visor.
It's not that complicated to follow this series of tips to keep it like new and thus avoid distortions and all kinds of problems.
The helmet visor is not made to be touched...
... except for the edge, as a protrusion or handle located in the center or lower left part of it. Logical.
There is a surprisingly common habit of opening and closing the helmet visor by placing all five fingers of the hand on the surface.

There was a time when full-face helmets had very thin plastic visors, with no positions that "guaranteed" closure.
Given their fragility, some people preferred to "pull" on it with their whole hand, in case it gave way when pulling from the lower side.
In a 21st-century helmet, the visor should never be touched, at least not on the entire viewing surface.

"Turbo-cleaning" on the go
If you find any object or bug stuck to the visor while riding, don't be tempted to touch it with your hand or glove.
If you're riding at a relatively high speed, turn your head to the left or right; with luck, the bug will disappear.
We'll take care of whatever remains once we reach our destination, but at the moment don't use your glove to get it off.
It's better to remove it
Once we stop, whenever we have the chance, we should remove the visor to make cleaning easier.
As is often the case, there will be times when we're in a hurry and have little time, a situation where "wartime economy" prevails.
In that case, go into a bathroom, wash your hands and soak it with water (lukewarm if possible); rub it gently with your hand in circles.

Don't use your nails at any time. Only use your slightly cupped palm and barely apply any pressure to the visor.
Once we get home, we should use a cleaning kit... or maybe not.
Keep in mind that, sometimes, simple solutions do more than just get you by.
More thorough and complete
If you have time, remove the visor, place it under the faucet with lukewarm water, and repeat what you did in the work bathroom.
Meanwhile, do it on the inside as well which, of course, also collects and accumulates dirt with use.
If you want to finish the job, apply a solution based on neutral soap to your hands and... make circles on both sides of the visor.
Take advantage, since you have it removed, to remove mud and various dirt that accumulates on the edges, especially on the attachment sides.

Before putting it back on and after letting the visor "rest" while it dries (or with a cotton cloth, always without pressing), do the following.
Use a slightly damp cloth to wipe the rubber on the edge of the helmet shell, then move on to the attachment area.
Now that you have the visor and helmet like this, each one separately, it won't take you long to get everything perfect.
Before putting it back on
It's clear that wipes or professional visor cleaning kits aren't absolutely essential
One or two specific kits would be necessary in this case... to which you should add another, for the "while I'm at it" reason: cleaning the padding.
They have spray applications that not only clean the dirt that turns the white inner label black: they also disinfect.
It's time to put the visor back on, although remember to change your inner anti-fog sheet if necessary.
Install a new one by holding it by the edges very carefully. Here too: no fingers in the way.

Don't let it roll away...
Place the helmet on your legs or a soft surface that will keep the helmet from rolling away.
Once it's "under control", check that the visor opens and closes smoothly, without any dirt getting in the way.
If you notice excessive friction on the upper part of the shell when it contacts the visor, adjust the lateral tension settings.
Check the instructions if you're not sure or go to the store where you bought it. They're sure to adjust it for you gladly, as well as prevent it from rubbing or, on the contrary, from being too loose and letting water and cold in through the entire upper perimeter.

When everything is in order, you just need to remember what was said above: don't touch the visor while riding to clean it.
If you must, do it without forcing it with the index finger of your glove, which will have a small soft fabric insert specifically designed for this purpose.
Without a doubt, a good investment in equipment is the best idea you could ever have, don't you think?
More posts: